
Mistake #1: Skipping Proper Site Preparation
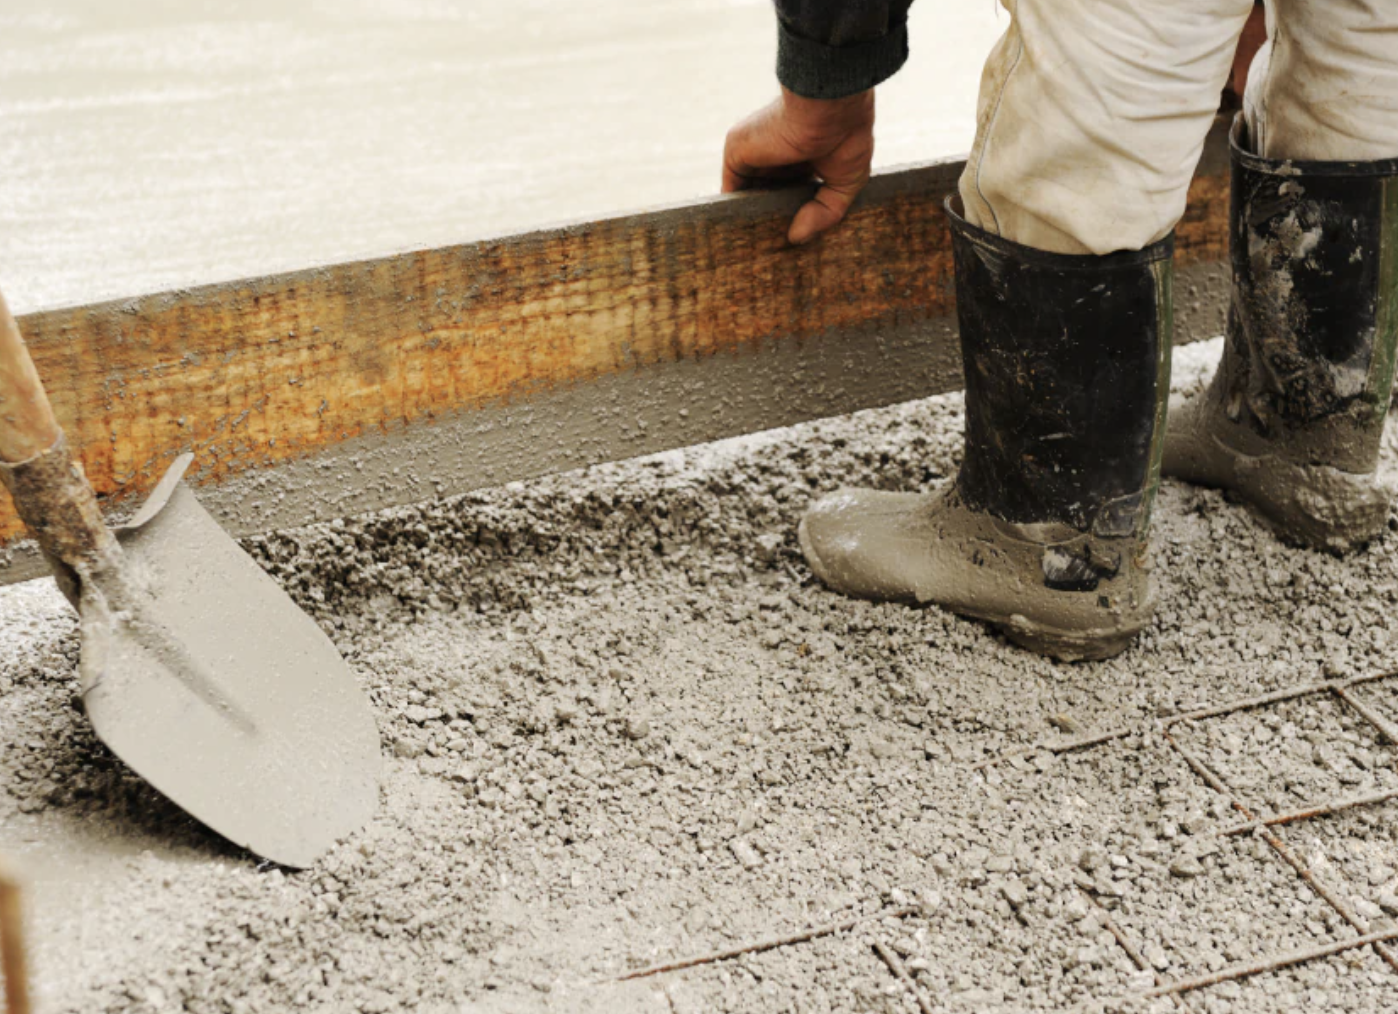
The most expensive mistake homeowners make happens before a single bucket of concrete gets mixed. Inadequate site preparation leads to cracking, settling, and complete structural failure within just a few years. In Santa Rosa’s clay-heavy soils, this problem becomes even more critical during our wet winters when the ground expands and contracts dramatically.
Proper preparation starts with excavating to the right depth (typically 6 to 8 inches below finished grade) and removing all organic material, roots, and loose soil. The base layer needs at least 4 inches of compacted gravel or crushed rock, tamped down in 2-inch lifts with a plate compactor. Many DIY projects and budget contractors skip this step or use inadequate materials, which allows the slab to shift and crack as the ground beneath it moves with seasonal moisture changes.
Here’s what proper prep looks like: test the soil compaction, install landscape fabric to prevent weed growth from below, and create a stable aggregate base that drains water away rather than trapping it. In Sonoma County, where we see significant rainfall from November through March, drainage planning during site prep prevents thousands in future repairs. A patio that settles just one inch can create trip hazards, standing water, and structural damage to your home’s foundation if it slopes back toward the house.
Working with experienced concrete services teams who understand local soil conditions makes the difference between a patio that lasts decades and one that fails in five years.
Mistake #2: Using the Wrong Concrete Mix or Poor Finishing
Not all concrete is created equal, and using the wrong mix for your patio can lead to surface scaling, premature cracking, and a finish that deteriorates rapidly under Santa Rosa’s fluctuating temperatures. The standard 3,000 PSI mix works for many applications, but outdoor patios exposed to weather cycles, freeze-thaw conditions in our higher elevations, and daily foot traffic need at least 4,000 PSI with the right air entrainment and water-cement ratio.
Too much water in the mix is the second most common finishing mistake. Contractors or DIYers who add extra water to make the concrete easier to work with are actually weakening the final product significantly. Every additional gallon of water per cubic yard reduces the strength by roughly 500 PSI and increases the likelihood of surface dusting, where the top layer becomes chalky and weak. In our dry summer months, that weakened surface breaks down quickly, leaving you with a patio that looks aged and worn within a couple of seasons.
Finishing technique matters just as much as mix design. Overworking the surface, finishing too early while bleed water is still present, or failing to properly float and trowel the concrete creates a weak surface layer. The timing window is narrow, especially on warm Sonoma County afternoons when concrete sets faster than expected. Professional concrete work teams know exactly when to start finishing operations and how to achieve a durable, slip-resistant texture that holds up to years of use.
Decorative options like stamped or colored concrete require even more precision in mix design and finishing. Get the mix wrong, and your beautiful stamped pattern fades or flakes off within a year or two, costing thousands to repair or replace.
Mistake #3: Ignoring Drainage and Proper Slope
Standing water is the silent killer of concrete patios. A flat or improperly sloped surface traps rainwater, which then seeps into tiny surface cracks and expands when temperatures drop overnight. Over time, this freeze-thaw cycle (yes, even in Santa Rosa where we get frosty mornings in winter) causes spalling, where chunks of the surface pop off, leaving an ugly, pitted appearance that only gets worse with each passing season.
The building code requires a minimum slope of 1/4 inch per foot away from structures, but many homeowners don’t realize their contractor skipped this critical step until the first winter rains arrive. I’ve seen patios in Sonoma County neighborhoods where water actually pools against the house foundation because the slope was installed backward. That standing water doesn’t just damage the patio; it seeps into your foundation, crawl space, or basement, creating moisture problems that cost tens of thousands to remediate.
Proper drainage design includes more than just slope. Strategic placement of expansion joints allows water to drain through rather than pooling on the surface. In areas with heavy clay soil common throughout Santa Rosa, installing perimeter drains or French drains alongside the patio prevents groundwater from saturating the base and causing the slab to heave or settle unevenly. Some locations may need catch basins or channel drains if the yard doesn’t naturally drain away from the patio area.
Even small patios need careful attention to drainage. A 12×12 foot patio should drop a full 3 inches from one side to the other. Getting that slope consistent across the entire surface while maintaining a smooth, level appearance takes skill and experience. That’s why partnering with qualified patio installation professionals ensures your outdoor space sheds water properly from day one, protecting both your investment and your home’s structural integrity for decades.
Proper Techniques for Filling and Finishing
Application technique varies depending on the type and size of damage you are addressing. For narrow cracks, cut the applicator tip at an angle and squeeze filler into the crack, slightly overfilling to account for settling. Use a putty knife or trowel to press the material firmly into the crack, eliminating air pockets that create weak spots.
Wider cracks and deeper holes require layering. Apply patching compound in lifts no thicker than one-half inch, allowing each layer to set before adding the next. This prevents shrinkage cracks and ensures thorough bonding throughout the repair depth. Work the material into all edges and corners, using a margin trowel for precision in tight areas.
For surface resurfacing projects, pour or spread the mixed resurfacer onto the prepared surface and immediately spread it using a long-handled squeegee or trowel. Work in sections small enough to complete before the material begins setting, typically six to eight feet square depending on temperature. Maintain consistent thickness across the entire repair area, feathering edges where new material meets existing surfaces to create smooth transitions.
Finishing determines the final appearance and texture. Use a wood float for a rougher, slip-resistant surface, or a steel trowel for smoother results. Match the texture of your existing driveway by observing its finish pattern and replicating it with your tools. In Santa Rosa’s climate, working during morning hours before temperatures climb helps extend working time and produces better finishes. When you trust the process and take your time with application, results often rival professional work. For extensive damage or structural concerns, consulting with experienced professionals ensures appropriate solutions. Visit our services page to learn about options beyond DIY repairs.
Mistake #4: Skipping Sealing and Regular Maintenance
Even perfectly installed concrete needs protection. Unsealed patios in Santa Rosa absorb moisture, oils, tannins from falling leaves, and de-icing salts (if you use them during cold snaps), all of which deteriorate the surface and allow water penetration that leads to cracking and spalling. A quality concrete sealer costs a few hundred dollars and takes just a few hours to apply, but skipping this step can shorten your patio’s lifespan by half or more.
The best time to seal a new patio is 28 days after installation, once the concrete has fully cured. However, many homeowners never get around to it, or they don’t realize it’s necessary until visible damage appears. By then, moisture has already penetrated deep into the slab, causing internal damage that no amount of sealing can reverse. In our climate, where we swing from bone-dry summers to wet winters, that moisture cycling stresses unsealed concrete relentlessly.
Sealing isn’t a one-time job. Depending on traffic and exposure, most patios need resealing every 2 to 3 years. High-traffic areas or patios with decorative finishes may need annual attention. Regular maintenance also includes cleaning away dirt, leaves, and organic debris that trap moisture against the surface, and addressing small cracks immediately before they spread. A tiny hairline crack today becomes a major structural problem next winter if water gets inside and freezes.
Homeowners often overlook joint sealant maintenance, too. Expansion joints and control joints need flexible sealant that moves with the concrete as it expands and contracts with temperature changes. When that sealant dries out and cracks (common in our hot, dry summers), water infiltrates and undermines the slab from below. Staying on top of these small maintenance tasks prevents the big, expensive repairs that come from neglect. Professional concrete contractors can set up maintenance schedules that keep your patio looking great and performing flawlessly for 30 years or more.
Mistake #5: Rushing the Cure Time or Project Timeline
Impatience ruins more patios than almost any other factor. Concrete reaches its full strength through a chemical process called hydration that takes 28 days under ideal conditions. Yet I constantly see homeowners placing heavy furniture, grills, or planters on their new patio within just a few days, or even walking on it within hours. That premature loading causes permanent surface damage, micro-cracking, and strength loss that compromises the entire structure.
The first 7 days are absolutely critical. During this period, the concrete needs consistent moisture to cure properly. In Santa Rosa’s dry summer months, that means covering the patio with plastic sheeting or wet burlap and keeping it damp multiple times per day. If the surface dries out too quickly, the concrete won’t achieve its designed strength, and you’ll end up with a weak, dusty surface that deteriorates rapidly. Many DIY projects and rushed contractor jobs skip proper curing altogether, which can reduce final strength by 50 percent or more.
Rushing the project timeline creates problems beyond just cure time. Pouring concrete when rain is forecast within 24 hours, working in extreme heat without proper precautions, or trying to finish the job before nightfall when you’re losing daylight all lead to compromised results. Professional crews plan around weather, bring adequate labor to complete the job properly within the available window, and never cut corners on curing time regardless of the homeowner’s eagerness to use their new space.
Some contractors promise unrealistically fast turnaround times to win bids, then rush through critical steps like base preparation, proper reinforcement placement, and finishing. The result looks fine initially but fails prematurely, costing you far more in replacement costs than you saved by going with the low bid. Quality concrete patio installation takes time. From initial site assessment through final sealing, expect at least 5 to 6 weeks for a properly executed project that will serve your family beautifully for decades. That patience pays off in durability, appearance, and long-term value that rushed work simply cannot deliver.